I’m a huge fan of expensive sound systems. Unfortunately I’m not able to afford multi-thousand-pound systems, so I aspire to get somewhat decent sound on a budget and by self-installing.
In 2014 I decided to begin my audio project in the Impreza. If you’ve ever heard the standard speakers in a Subaru Impreza, you’ll understand why it needs an upgrade.
First, let’s talk tech. This install is an ongoing project, and I’ll be revising it as time progresses. I’ll be opting for a basic Headunit, Front Components, Rear Subwoofer and one 4 Channel Amplifier setup.
My initial equipment spec was as follows:
- Headunit: Sony WX-GT90BT Double Din Bluetooth
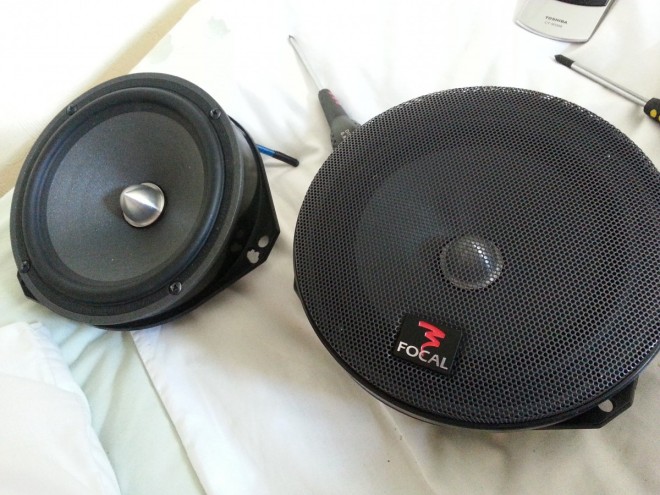
- Front Components: Focal 165VR Polyglass 6.5″ (taken from my MR2 audio install)
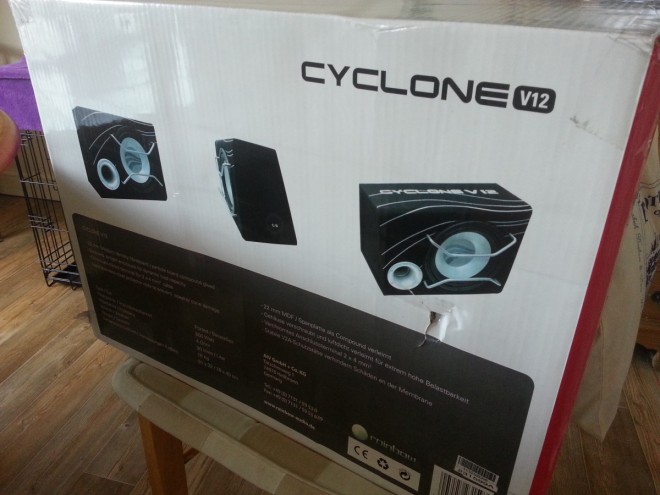
- Rear Subwoofer: Rainbow Cyclone V12
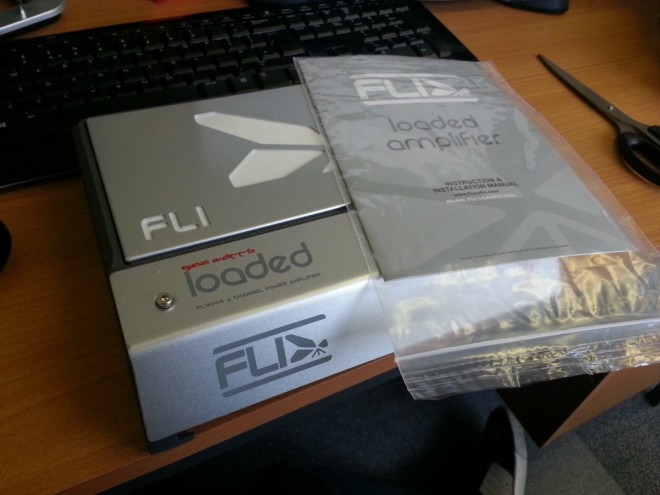
- Amplifier: Fli Loaded 900 4 Channel
- Misc: 4 Gauge Wiring, ISO lead, Dynamat, Autoleads SAK-3001 Speaker Adapters
First task was to take out the awful stock front door speakers and replace them with my Component options.
If you’re not aware, a Component speakers system is comprised of three parts: the main 6.5″ woofer, a smaller tweeter speaker and a crossover box. The crossover splits the audio signal into the correct frequencies that both the woofer and tweeter can individually play.
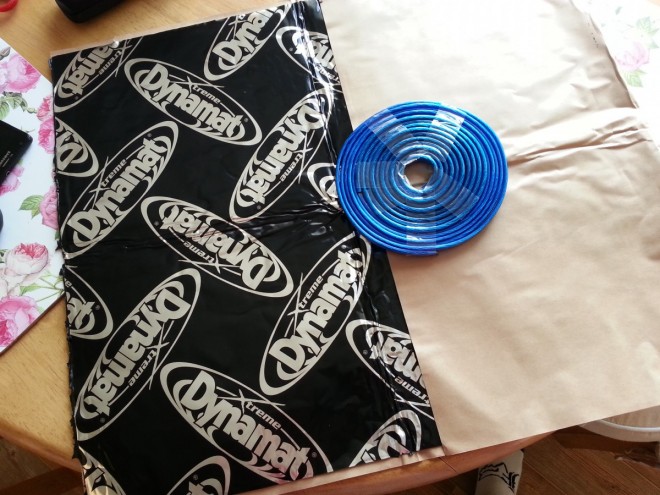
Taking off the door cards reveals the room available to play with. My first job was to cover a suitable sized area with Dynamat sound deadening material.
This is expensive stuff, and unfortunately my budget couldn’t quite stretch to covering the entire door, but I’ve added enough to each front door to adequately surround the main speaker area.
Once stuck in place we can begin installing the Components. I’d ‘borrowed’ the high quality Focal Polyglass 165VR Component set I’d previously installed in my MR2. These are great sounding speakers and pack one hell of a punch.
To properly install the woofers in the doors a speaker spacer/adapter kit is recommended. I chose the Autoleads SAK-3001 set (originally designed for a Vauxhall Corsa) as these have the exact screw pattern that the Impreza doors use.
It required a little modification to widen the screw holes slightly, but it was secured in place easy enough.
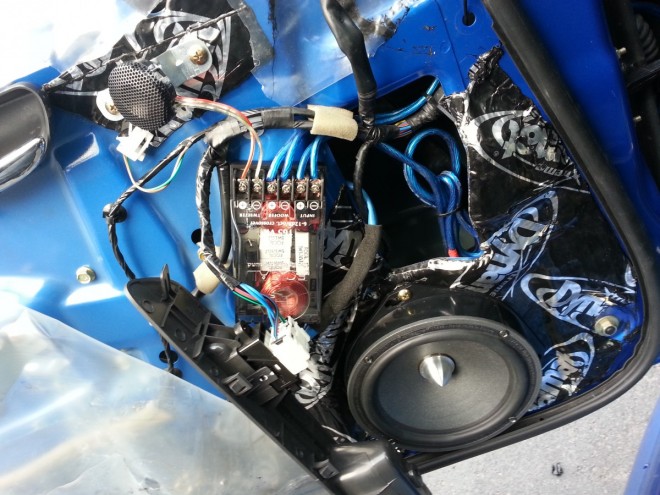
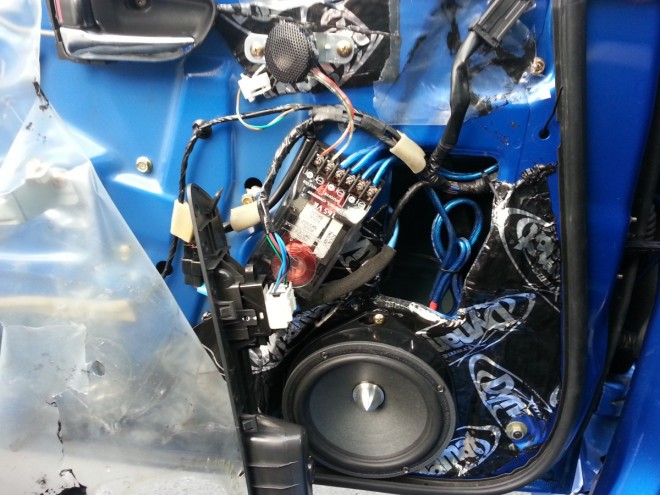
Once the woofer was in place, I connected it up to the crossover (mounted in place with Velcro). The tweeter was installed using more Velcro in the stock position the original Subaru tweeter was in.
This was the result. A little messy, but the door cards cover it all up.
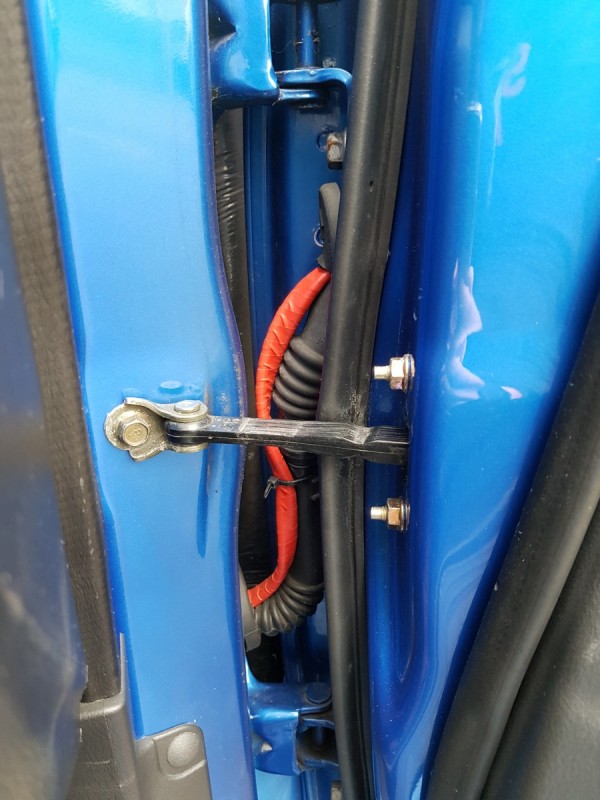
The absolute hardest part of this was routing the wiring from the crossover from the doors back into the cabin and down to the amp install location. The space to thread the wiring back through the door loom is very small – but one has to persist. Many obscenities were shouted and much blood was spilt.
Talking of routing the wiring, I now had to install the wiring that powers the amplifier. I’d chosen to install the amp underneath the drivers’ seat, a nice central location in the car that’s fairly easy to access.
The 4 gauge power wire has to come direct from the positive battery terminal into the amplifier. I allowed enough slack in the wire from the engine bay, and proceeded to find a suitable grommet into the cabin in which to thread through the wire.
Obviously it’s not yet connected to the battery or the fuse. Don’t do that yet!
Here’s a grommet into the cabin, just below the brake fluid reservoir.
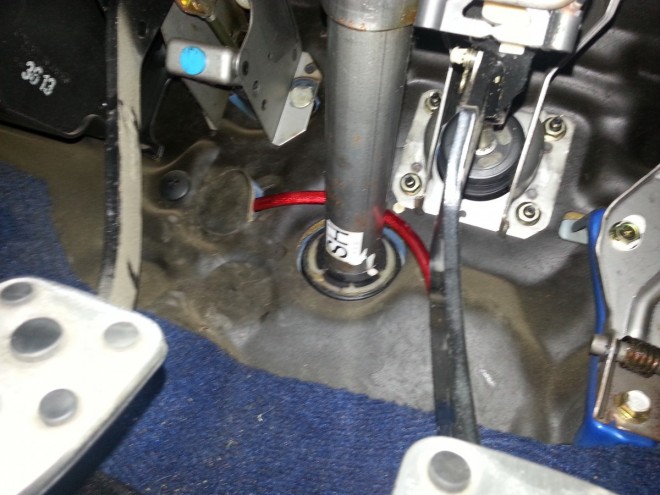
Into the cabin by the steering column, just above the pedals.
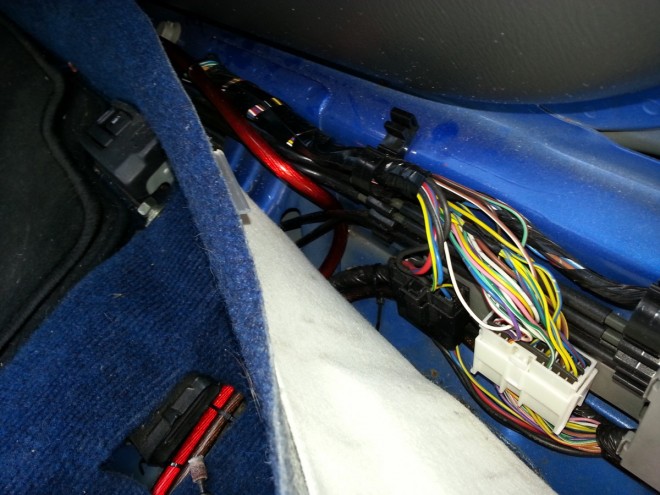
Channelled down the side of the car underneath the carpet:
And into place underneath the (removed) drivers’ seat.
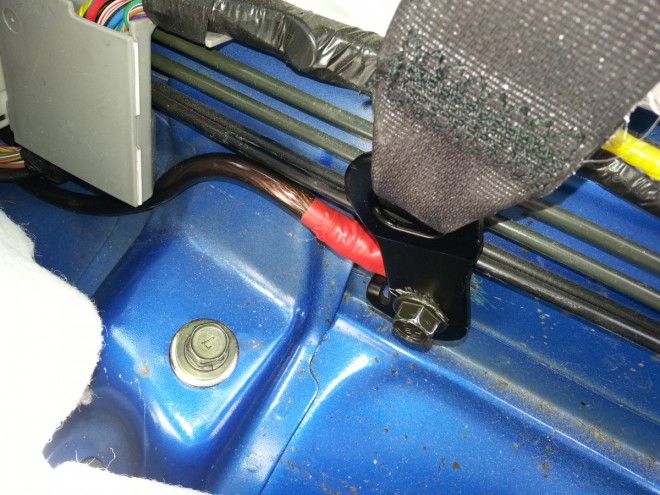
You’ll also notice the 4 gauge ground wire (brown) which must also be connected to the amplifier. This is much easier to connect though, and should just be grounded against the bodywork of the car.
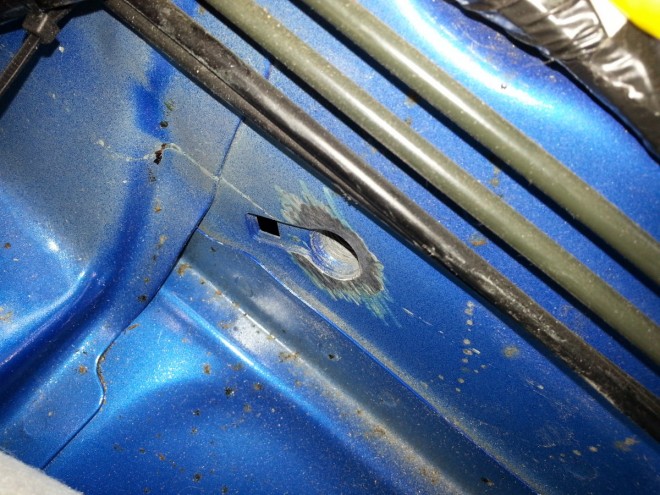
I sanded down the paint around the hole for the seatbelt bolt (removed). This is where I would ground the cable:
Securely bolted in place:
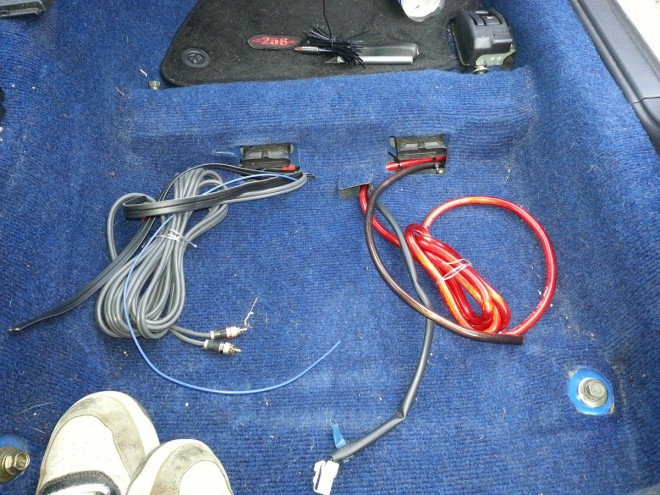
Now the power wiring for the amplifier had been put in place, it was time to connect the RCA cables and the amp remote wire from the headunit to the amplifier.
I was using a 4 channel amp to power two speaker units (Components and Subwoofer) so I had to route 2 sets of RCA cables.
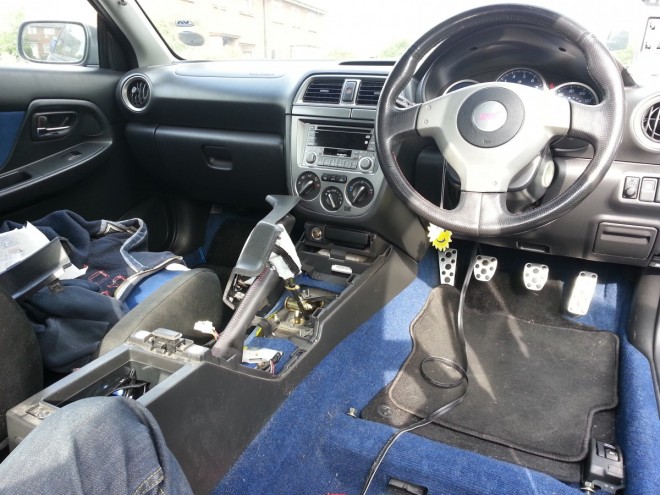
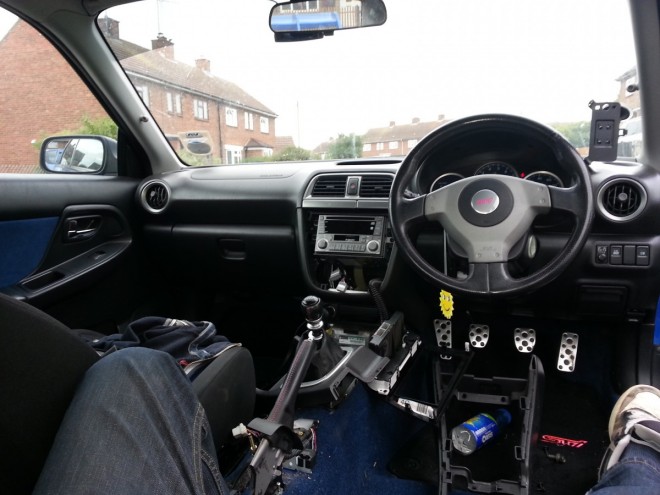
So out comes the centre channel plastics:
And the headunit surround plastics:
The wires were then channelled from the headunit, down the centre console and again back to the drivers’ seat area:
Now all the necessary wires are in place at the amp location, the hard part is over! I Velcro’d the amp down to the carpet under the seats and plugged everything in.
Not shown (my camera phone had exhausted its battery at this point) is the installation of the subwoofer. This particular Rainbow Cyclone subwoofer fits perfectly in place in the center of the boot backed up against the rear seats.
Install is simply a matter of putting the subwoofer in place, and running a simple wiring connection from the boot, underneath the rear seats and under the carpet down into the floor where the amps sits.
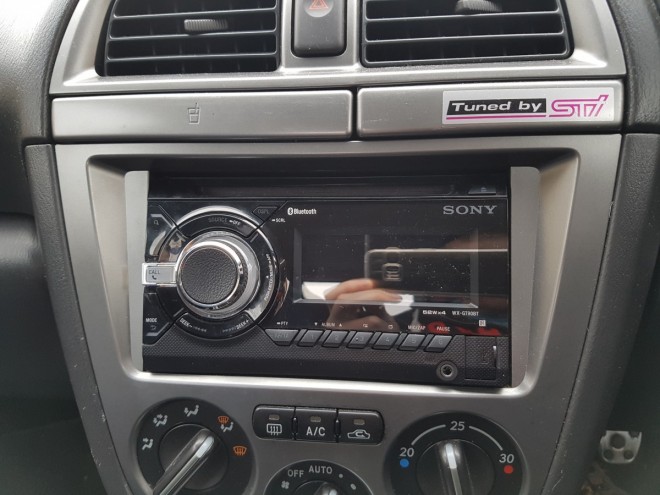
We can now take out the stock headunit, attach the new ISO lead, wire the amp remote cable in, plug in the RCA cables and admire the flashy new Sony WX-GT90BT Double Din headunit.
Not seen, the WX-GT90BT is a Bluetooth enable unit, so it includes a microphone for handsfree calling, The microphone has been wired in from the headunit, up the rear of the dash, underneath the a-pillar trim and clipped to the sun-visor.
Part 2 – Upgrades
Around 12 months after fitting the installation shown above, I decided to improve the sound a little.
The Component speakers had never really suited my type of music, and I wanted to install a more premium Amplifier rather than the cheap Fli unit I had previously fitted.
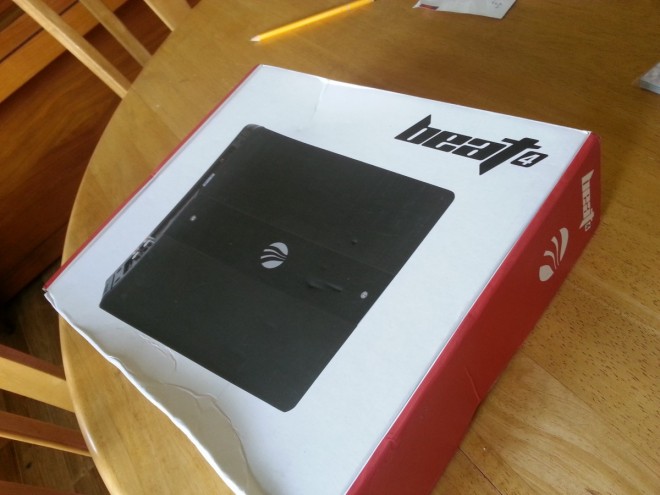
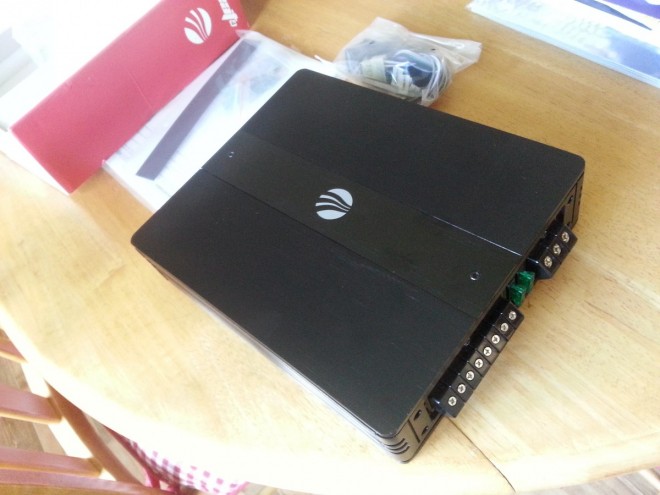
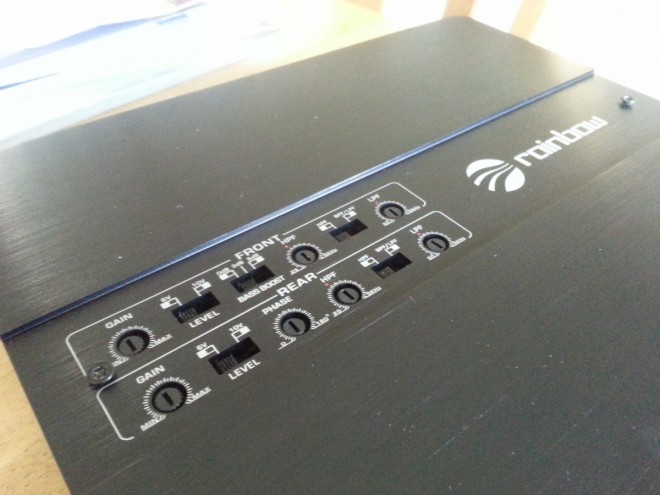
For the amplifier, I opted for the Rainbow Beat 4 Channel. Impressed by the quality of my Rainbow Cyclone Subwoofer, I was sure this new Rainbow Beat amp would be similarly impressive.
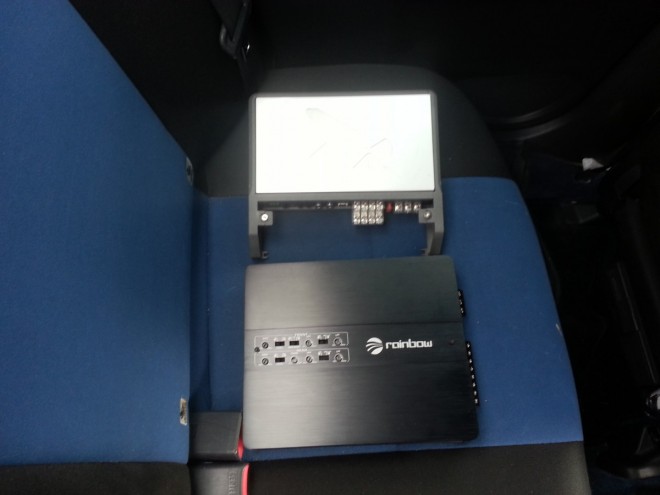
Comparisons with the Fli Loaded 900 unit:
And now plugged in place:
The Focal Component speakers I had fitted were always an impressive sounding speaker, but they didn’t suit the more heavy rock and metal-orientated music that I often listen to.
I’d heard a company called Morel exceed in producing speakers with the right kind of sound quality I was looking for. Again, I didn’t have a huge budget, so I went for the Morel Maximo 6.5″ component setup (around £150).
And a comparison with the previous Focal 165VR components:
A much more compact crossover box:
And much slimmer woofers:
So what are my thoughts on these upgrades? The Rainbow Beat 4 is much louder and much clearer than before. A definite improvement.
But the Morel speakers – wow. The difference is unbelievable. Now I don’t know if it’s because the Focal speakers are a few years old and passed their prime, but the Morel Maximo’s are better in every single way. I’m very happy.
I can’t see myself changing this current setup for the foreseeable future, but who knows. Stay tuned for more potential updates!















Just got my Impreza Estate WRX last friday and been looking through forums for the info to sort out my sound syste,. Thanks a million for detailing the parts as I wasn’t sure about the speaker adaptors. I have a set of Focal 165KR components and a Rockford Fosgate amp to replace the current Fli speakers and amp. Headunit is a Pioneer AVH-X8700BT.
The Corsa speaker adapters are a common choice, but I did have to slightly modify the fitting holes with my Dremel. This is because the adapters are slightly angled and depending on how you fit them they can slightly rub against the inside of the door card.
I also trimmed off a lot of excess plastic within the door card itself to free up as much room as possible. Best of luck with your install!
Cool. Thanks for the info and cheers for putting this all up with pictures. I had to tidy up all the wiring today in my car as it has an aftermarket system and wiring that I wasn’t happy with. It was an absolute pain. Getting second hand door cars to replace the chopped ones and fitting my Focals on Wednesday. Any chance you know where I could get a 10″ subwoofer enclosure that would fit in an Impreza Estate 2004 blob eye?